2024 Toyota Corolla Touring Sports Trunk Sound Deadening: My DIY Install
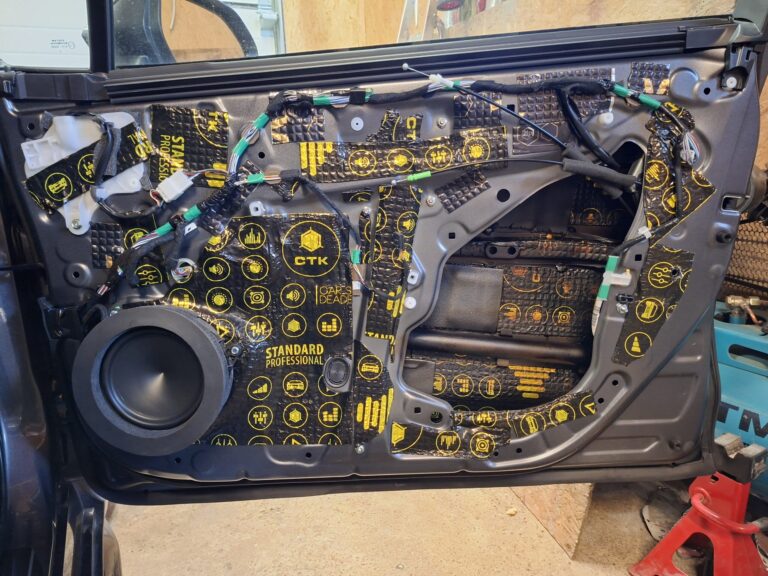
After sound-deadening all four doors of my 2024 Toyota Corolla Touring Sports, the trunk was the next area I wanted to tackle.
Reducing road noise from the rear of the car was one reason, but it was not the only one. I was also planning a larger audio installation in the trunk, including a dual-subwoofer setup and the amplifiers and other equipment needed to power the system.
The Touring Sports is particularly convenient for an installation like this because the 12V battery is already located at the rear of the car, close to where the audio equipment would eventually be installed. Since I was going to have powerful subwoofers playing directly into this area, I wanted to deal with the large metal panels, spare wheel well and rear wheel arches before installing the rest of the system.
With a dual-subwoofer setup planned for the trunk, the last thing I wanted was the spare wheel well and surrounding body panels becoming part of the sound system.
In this Toyota Corolla trunk sound deadening project, I’ll show how I treated the trunk floor, spare wheel well and rear wheel arches, what materials and tools I used, and whether I think the extra work was worthwhile.
Factory Insulation in the Corolla Trunk
Once I removed the trunk floor and some of the side trim, I could see how the rear of the Corolla was insulated from the factory.
On my car, there was some factory felt and padding around parts of the trunk, but large areas of the spare wheel well, floor and surrounding metal were still exposed. The rear wheel arch areas also contained large metal surfaces that could potentially transmit road noise and resonate.
Since I was already taking the trunk apart for the audio installation, this seemed like the right time to treat these areas before everything was put back together.
Before You Start: Have Spare Trim Clips Ready
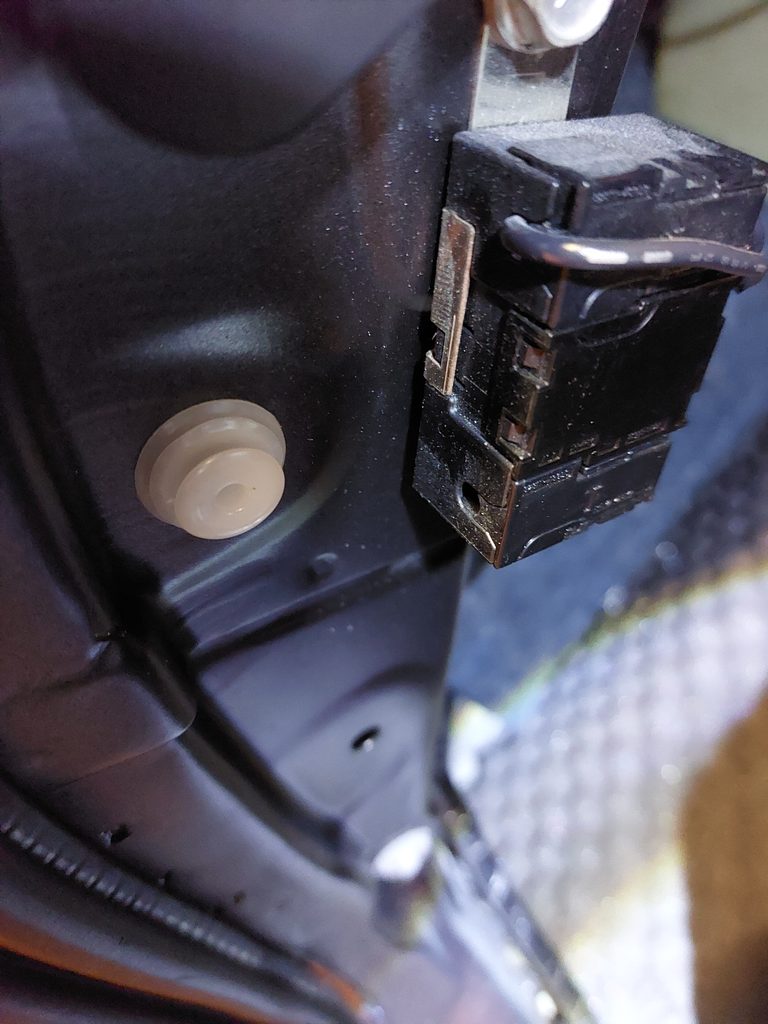
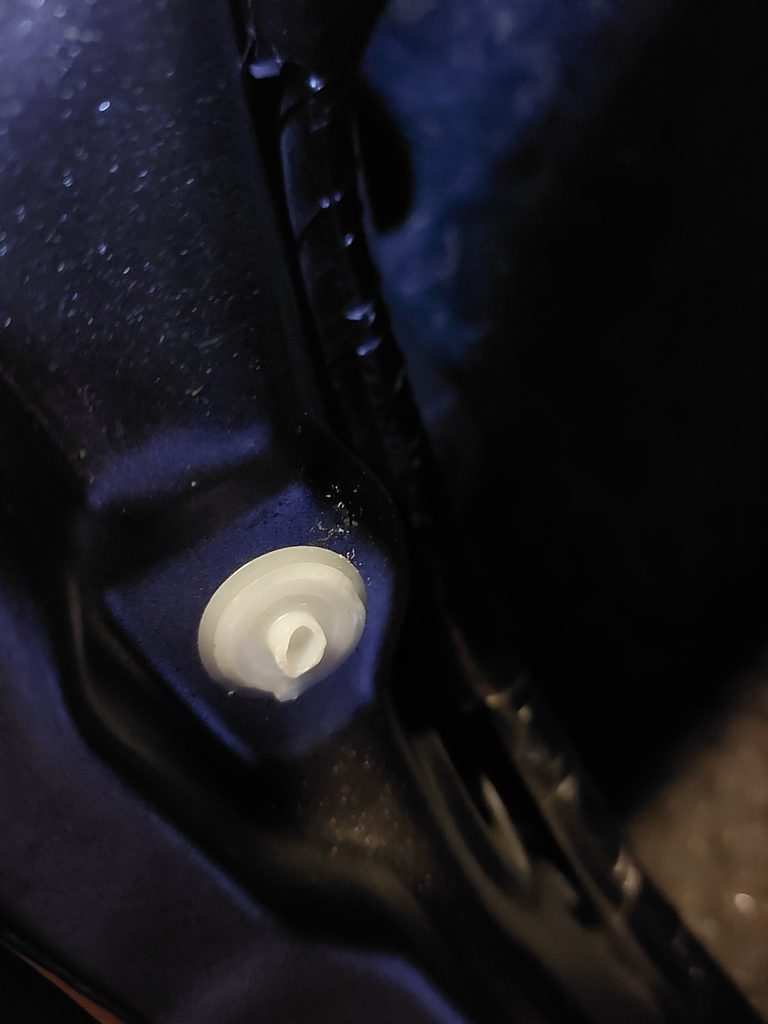
Removing the trunk side panels and floor trim means dealing with quite a few plastic clips and retainers. Some of them can be surprisingly easy to damage or break during removal, especially if they have been fitted tightly from the factory.
I managed to break a few plastic retaining pieces while taking the trunk apart. They are inexpensive, but discovering that you need replacements when the car is already disassembled is annoying.
If you plan to do the same job, I would recommend having a small set of compatible spare trim clips and retainers ready before you start. Even if you do not need all of them, it is much easier than stopping the project because of one broken plastic fastener.
Materials I Used
I did not buy a dedicated sound-deadening kit specifically for the trunk. Most of the material used here was left over from previous sound-deadening projects.
The first layer was mainly made up of CTK butyl damping material, together with some other leftover butyl sheets I still had in the garage. For the second layer, I used a mixture of CTK foam and other acoustic foam materials that were left over from earlier work.
Because I was working with leftovers, the exact materials and thicknesses were not identical across every section of the trunk. My goal was simply to use the remaining material where it made the most sense — butyl on larger metal panels to reduce resonance, and foam or other soft insulation on top or around trim areas where additional noise absorption and isolation could help.
It may not be the most perfectly matched sound-deadening system on paper, but it was a good way to make use of material I already had instead of leaving it on a shelf.
In other words, the trunk became the perfect place to use up the remaining sound-deadening material instead of letting it sit on a shelf. 🙂
Tools I Used
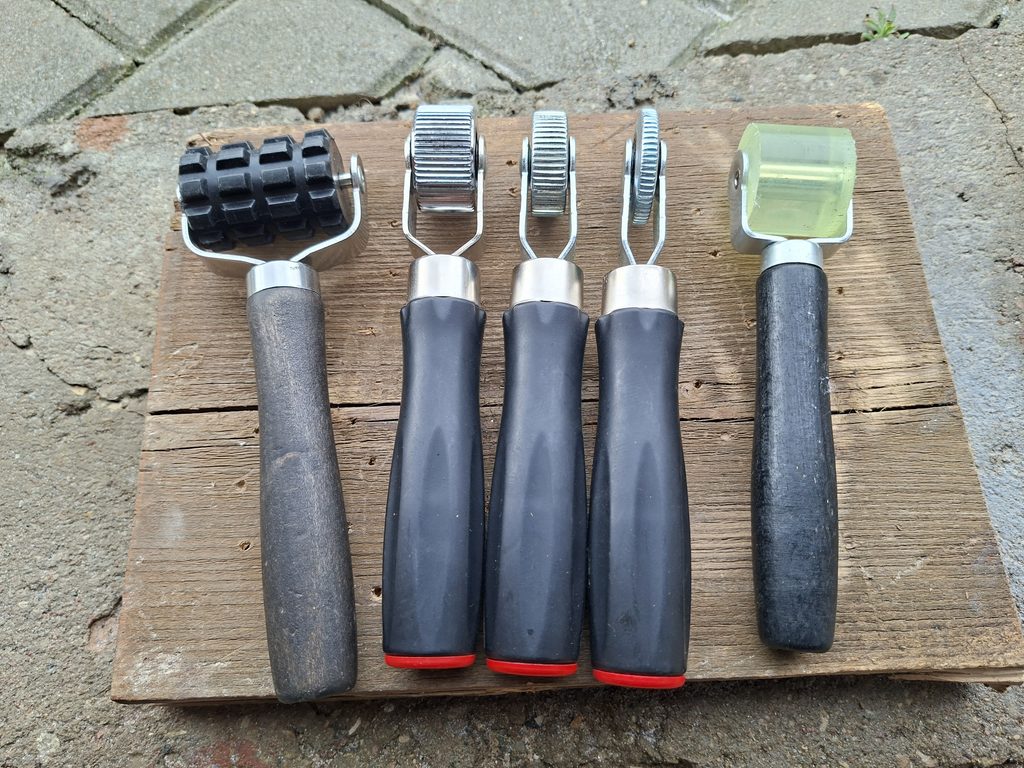
A pressure roller was one of the most useful tools during this project. It helps press the damping material firmly against the metal and makes it much easier to follow curves and stamped sections of the bodywork.
For most of the work I used the black textured roller shown on the left in the photo below. It was simple, but it worked well on the trunk floor, spare wheel well and larger sections of the rear wheel arches.
Later I bought several additional rollers in different widths. The narrower metal rollers are especially useful in tighter areas and around curved panels where the larger roller cannot reach easily.
It is a simple tool, but proper pressure makes a noticeable difference when installing butyl damping material. You want the material firmly bonded to the metal, not just sitting on top of it.
Sound-Deadening the Rear Wheel Arches
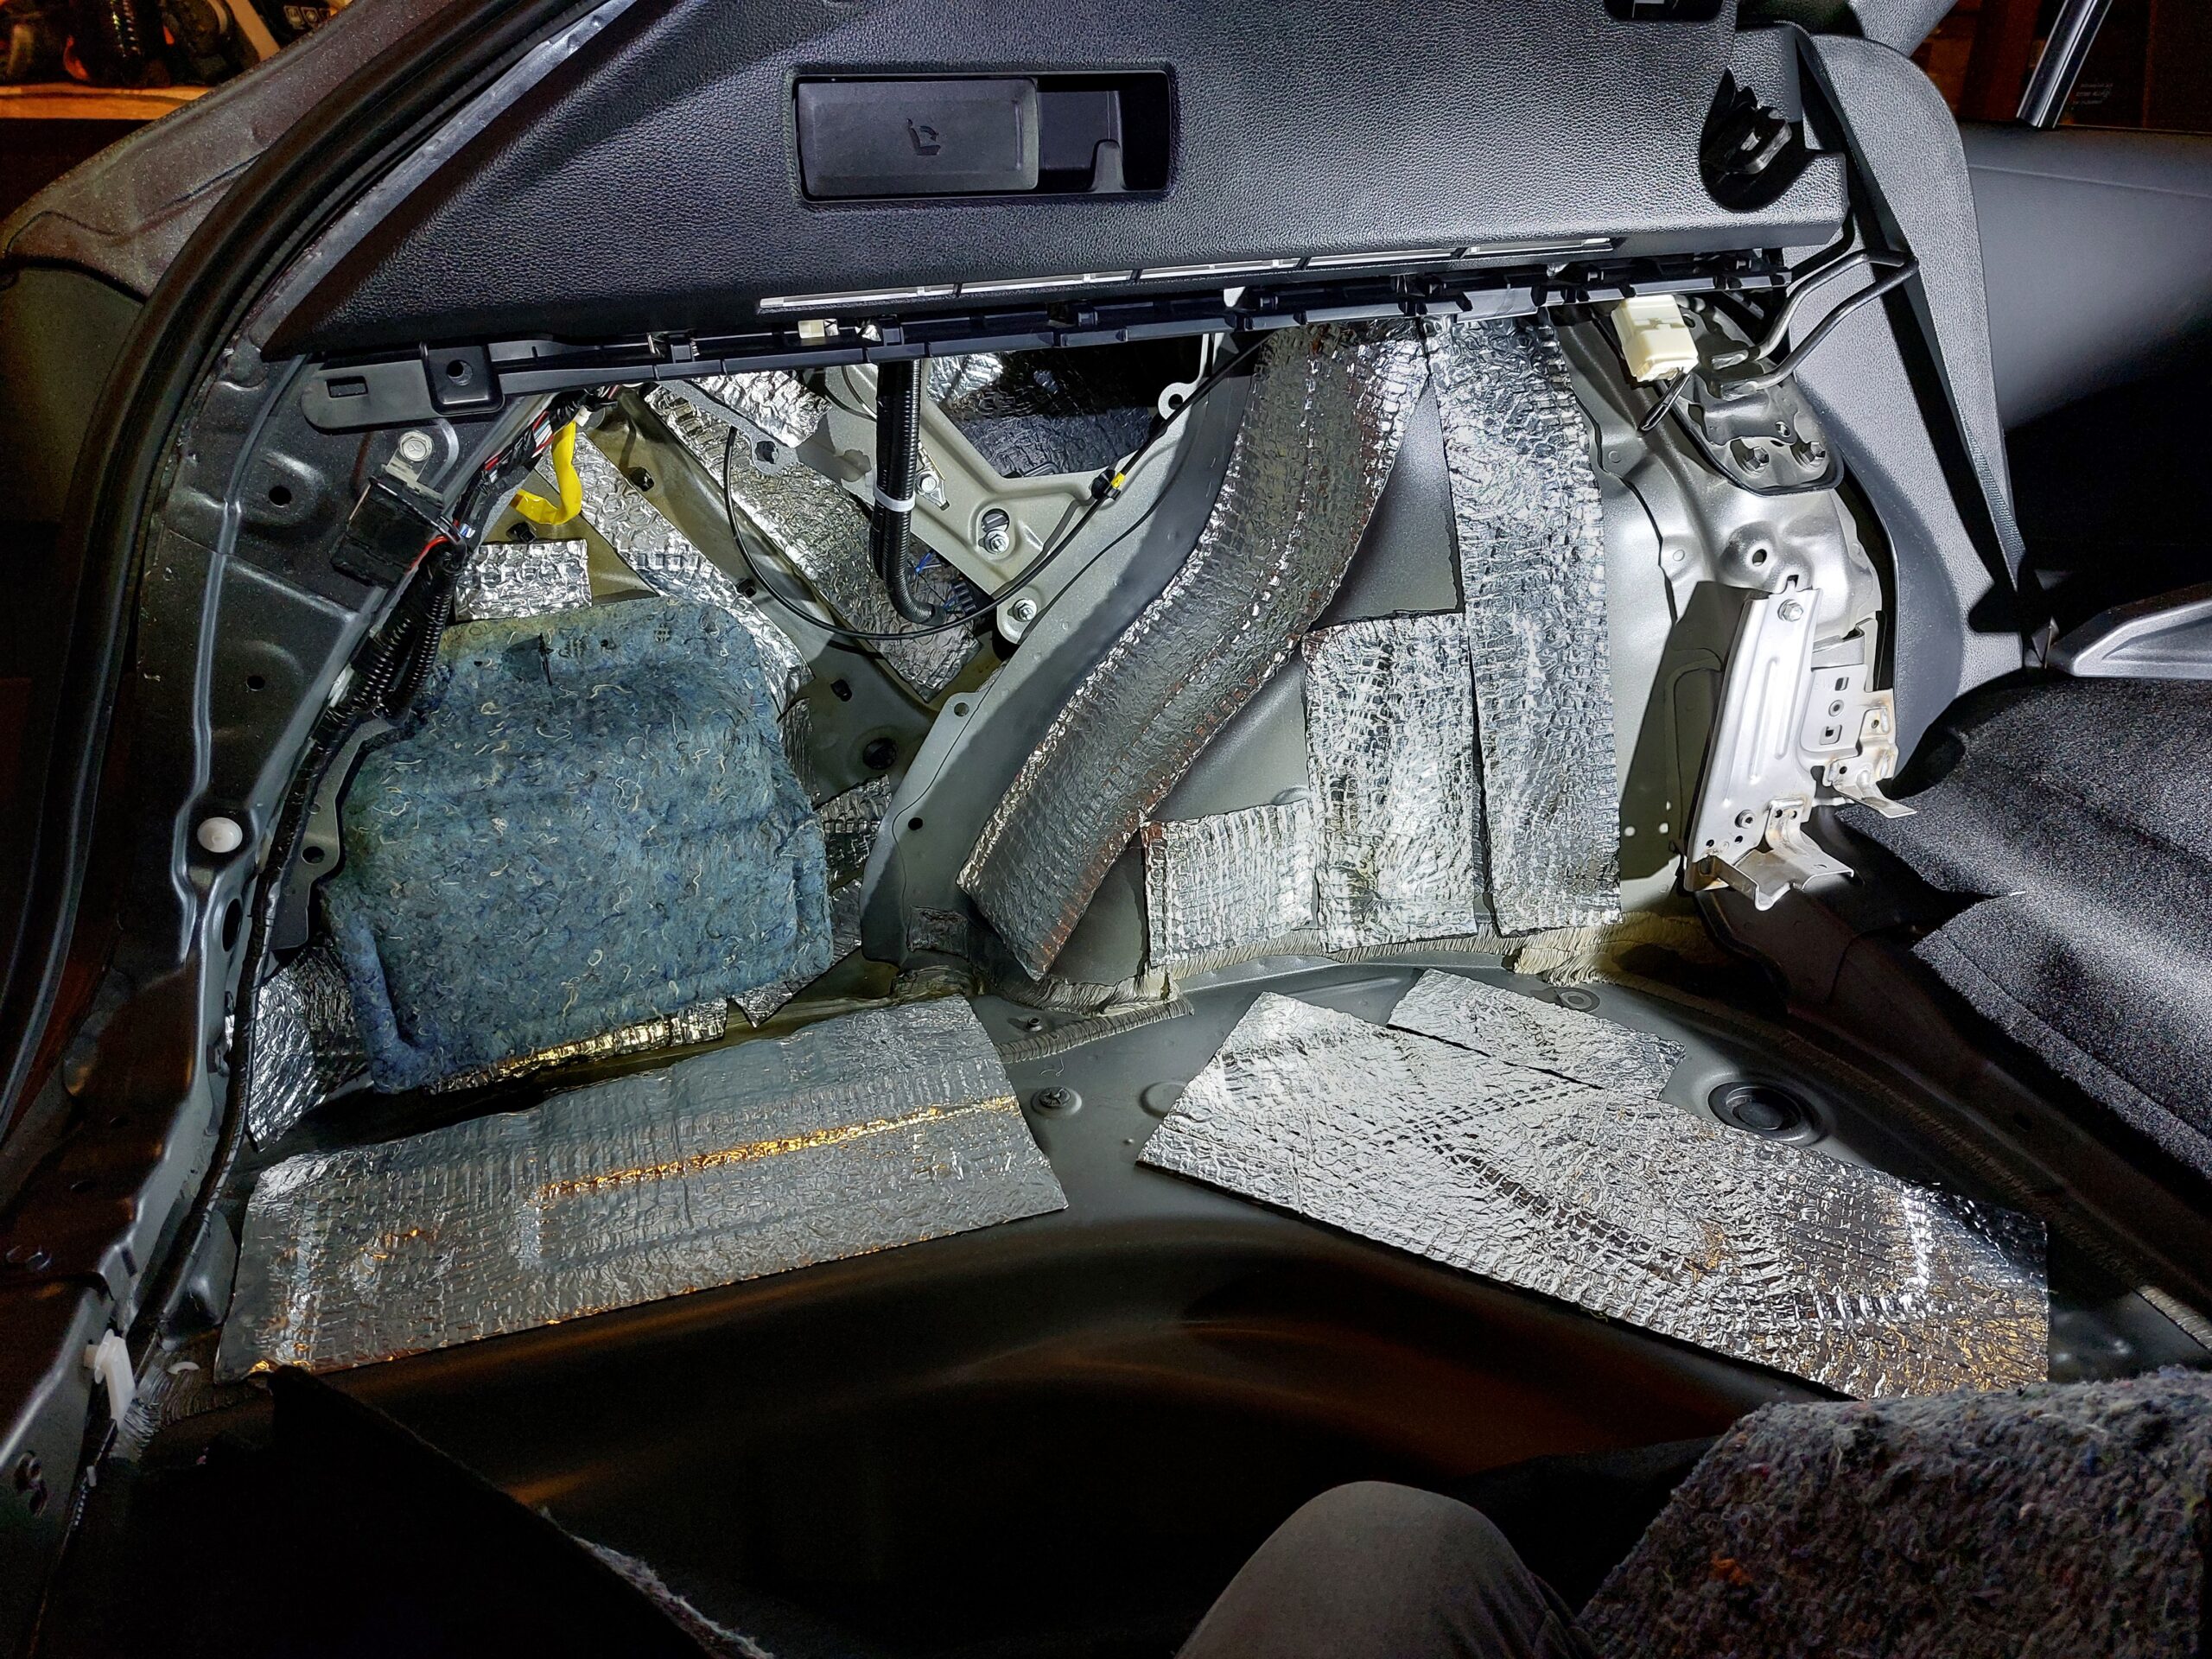
The rear wheel arches were one of the main areas I wanted to treat because they sit directly next to the rear tires and contain fairly large metal surfaces that can transmit road and tire noise into the trunk.
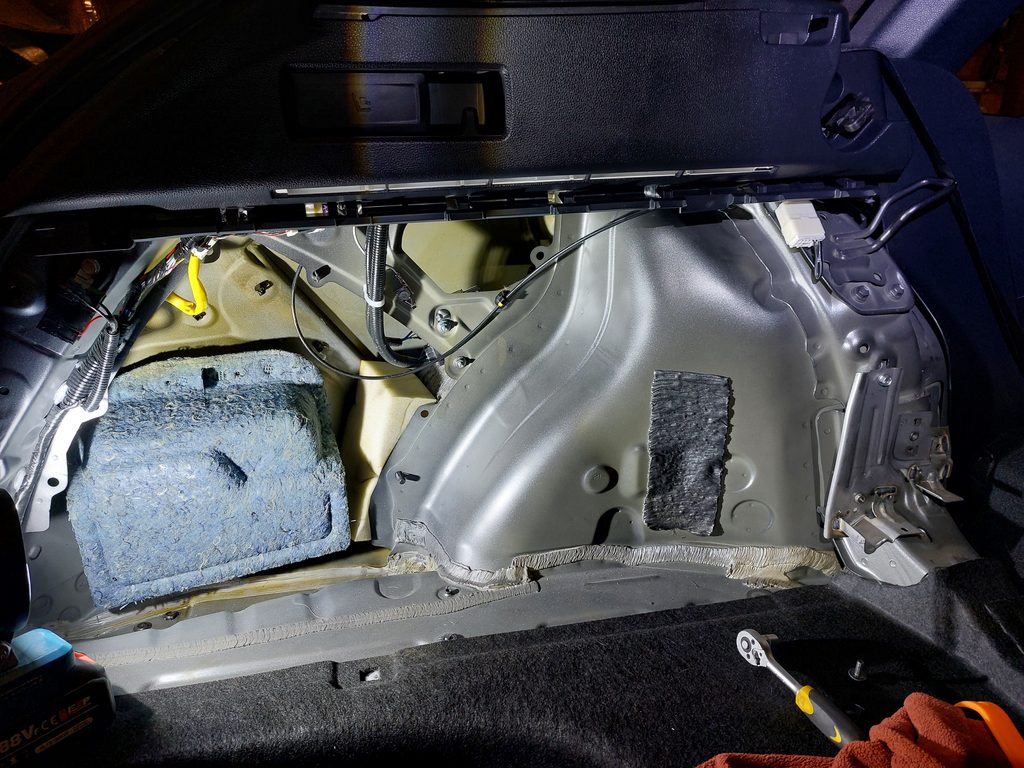
I started by applying butyl damping material directly to the accessible metal surfaces around the wheel arches. I concentrated on the larger flat and curved sections rather than trying to cover every single centimetre.
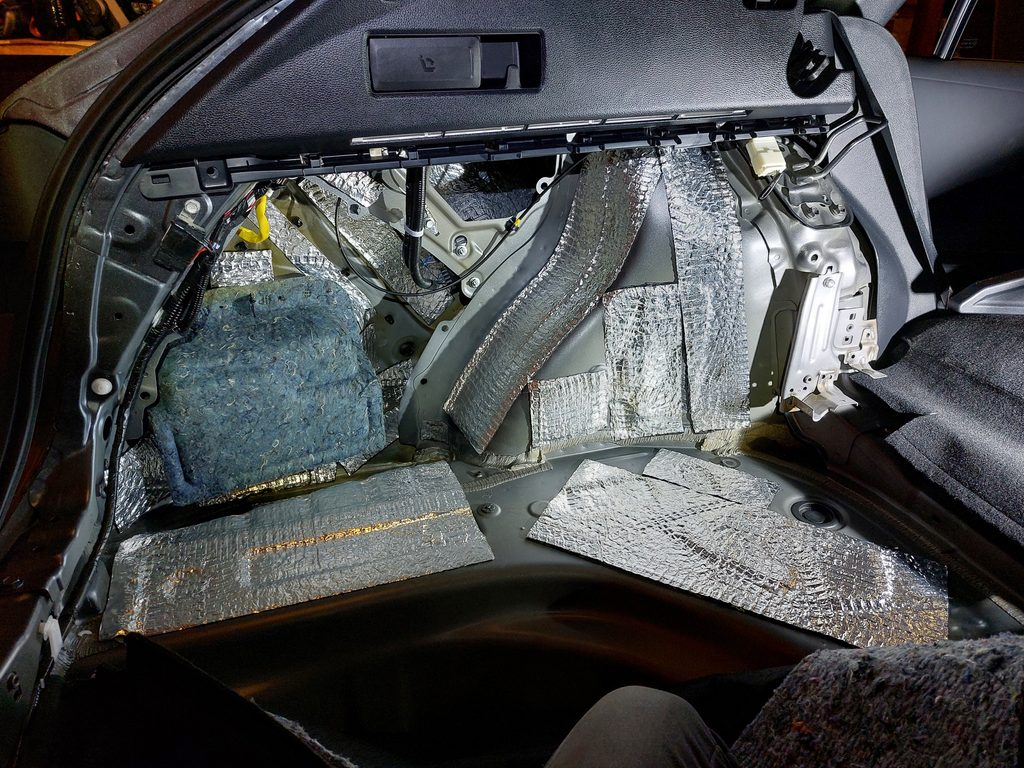
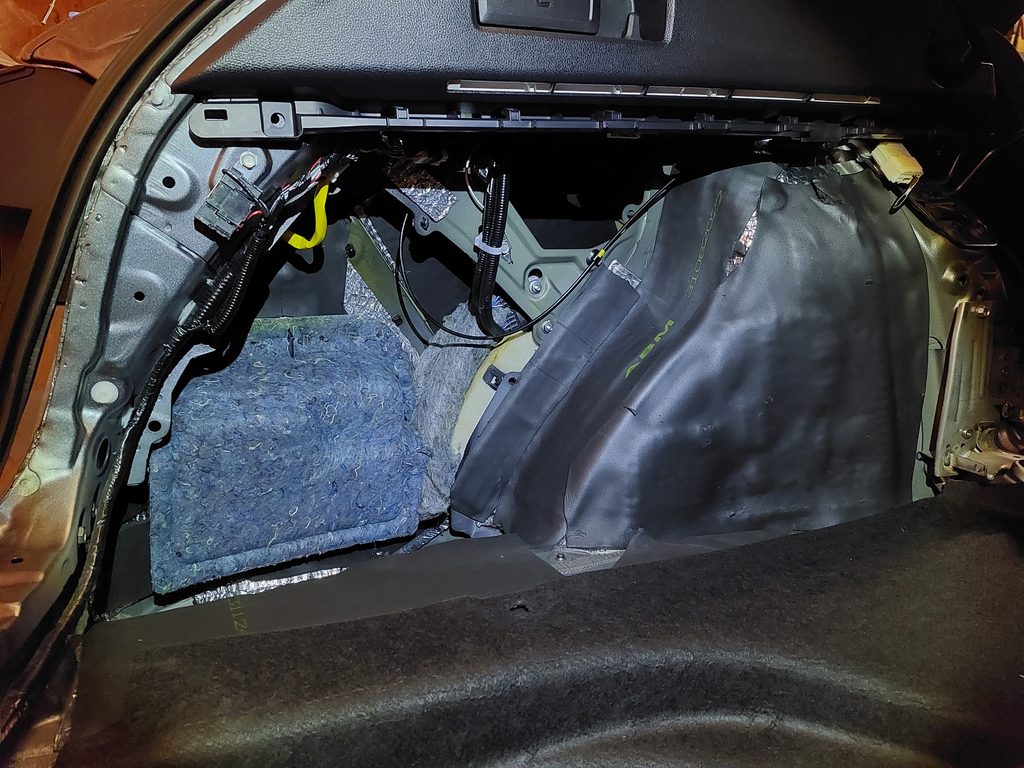
Because I was using leftover material from previous projects, the installation does not look perfectly uniform — there are different shapes, sizes and even different materials in some areas. That did not bother me. Once the trim is back in place, nobody sees it anyway; what mattered was getting useful material onto the areas most likely to resonate.
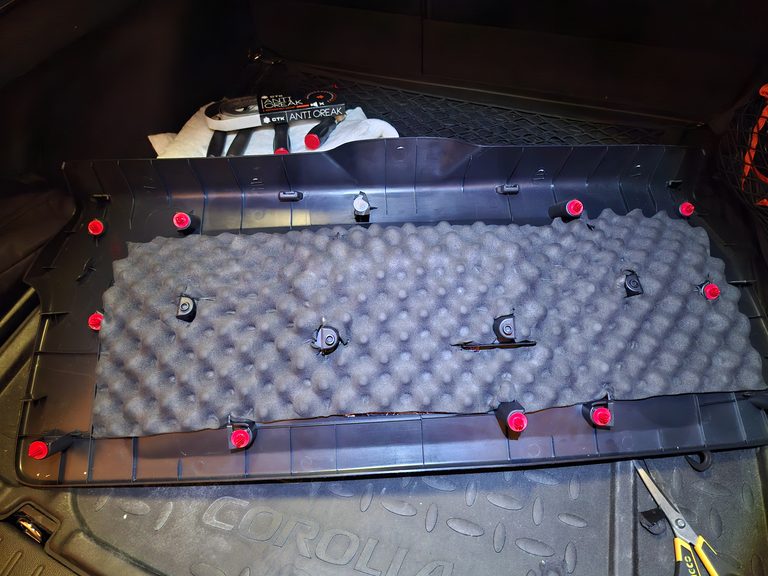
After the butyl layer, I added foam and other soft insulation where there was enough space behind the trim. I was careful not to interfere with wiring, mounting points or any parts that needed to remain accessible.
The curved shape of the wheel arch is exactly where the smaller rollers became useful, especially when pressing the material into tighter stamped sections.
The finished result was not visually perfect, but that was never the goal. This area would eventually be hidden behind the factory trim, so I was much more interested in reducing resonance and making use of the available space than creating a showroom-looking installation.
Sound-Deadening the Spare Wheel Well
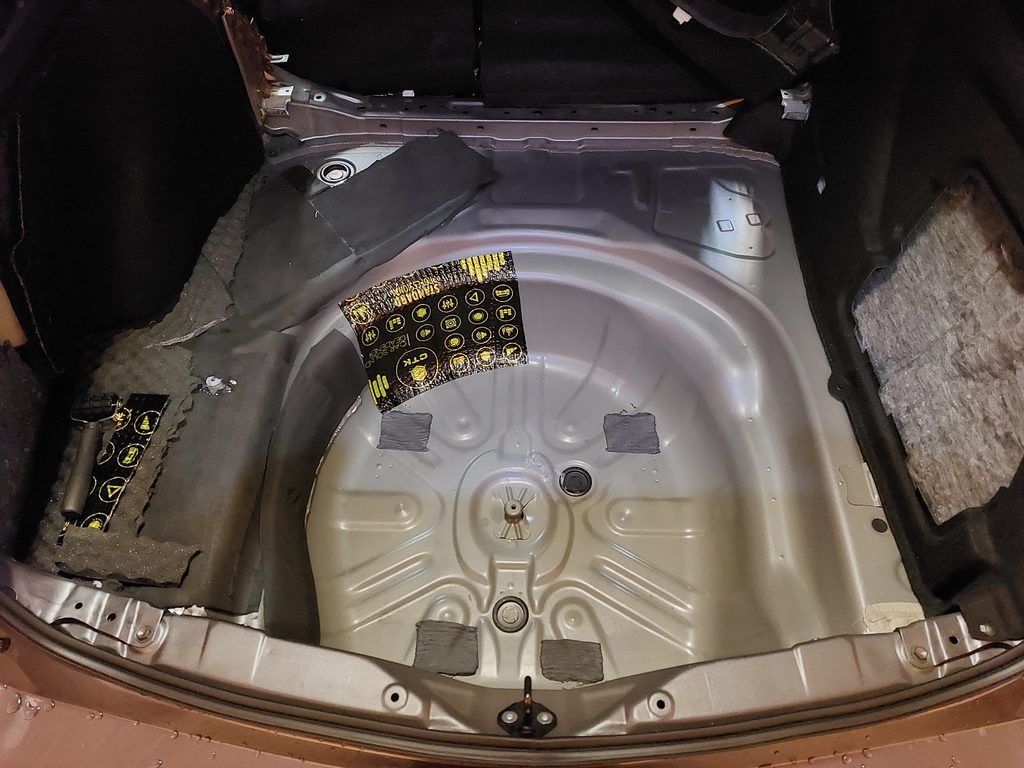
The spare wheel well was one of the largest exposed metal areas in the trunk, so it was an obvious place to add additional damping.
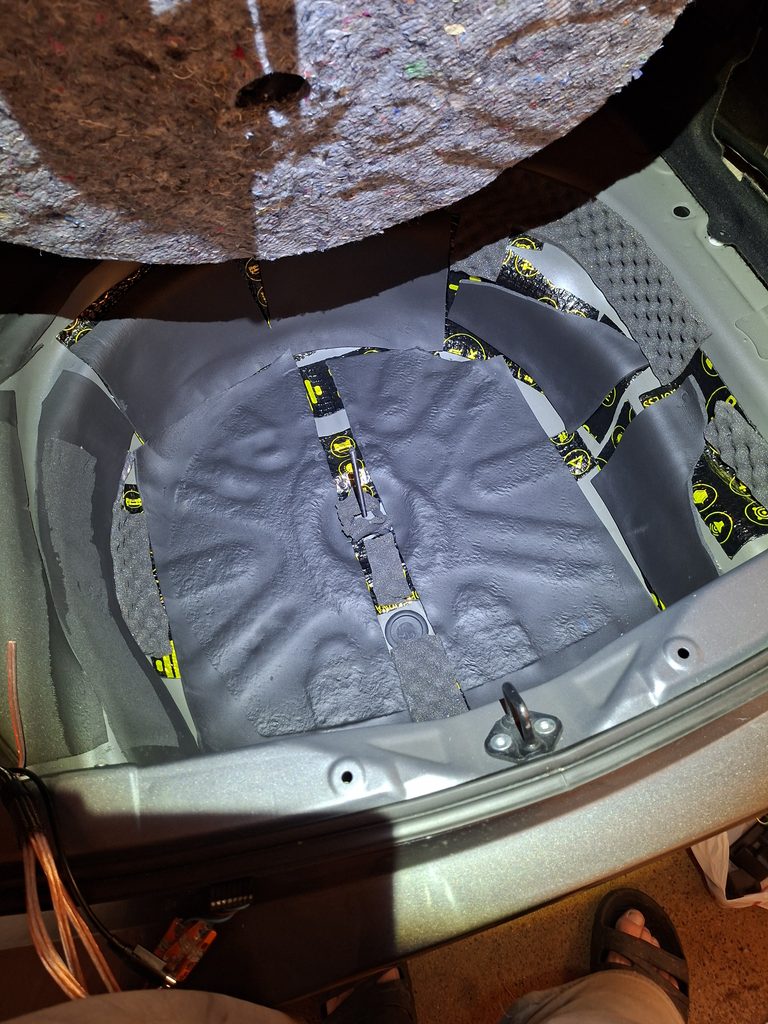
I applied leftover butyl material to the larger sections of the well, again without trying to achieve perfect 100 percent coverage. The stamped shape of the metal already adds some stiffness, so I focused mainly on the broader sections where additional damping seemed most useful.
After the butyl layer was installed, I added a second layer of soft insulation over much of the area. As with the rest of the trunk, this was a mixture of leftover materials rather than one perfectly matched insulation system.
The result definitely looked more like a practical garage project than a professional show-car installation — but once the trunk floor goes back in, none of this is visible anyway.
A Small Upgrade Later
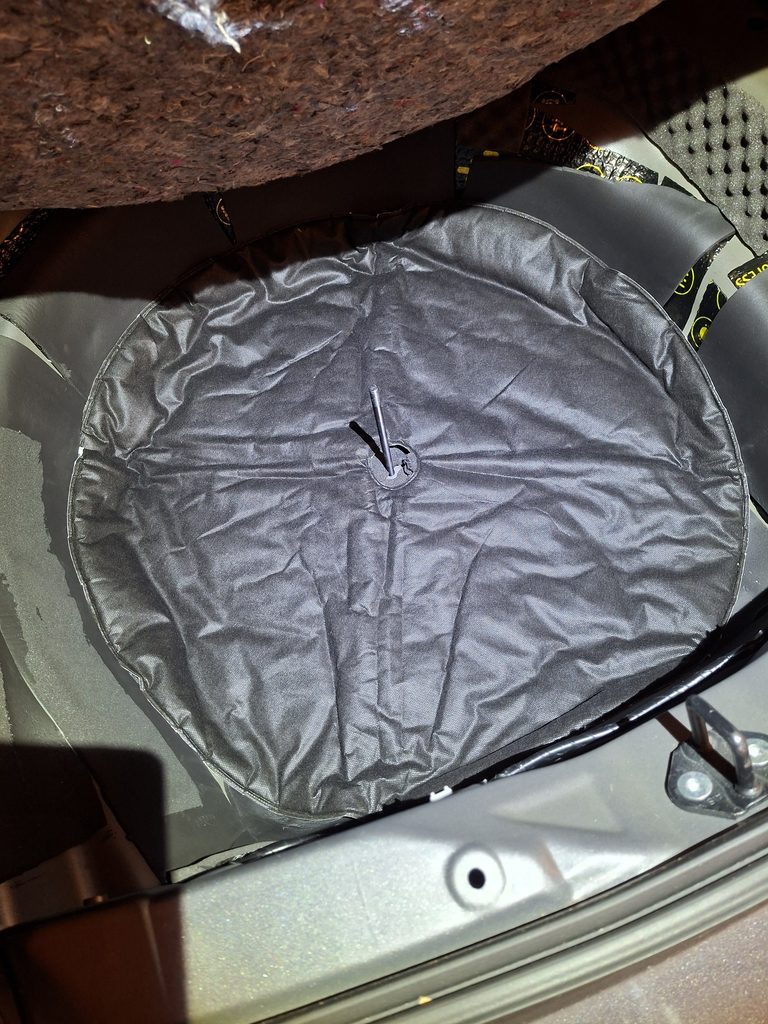
A few months later, I came back to the spare wheel well and added one more layer. I found a simple round foam soundproofing pad on Temu that was designed to sit underneath the trunk floor covering.
It was inexpensive, roughly matched the size of the spare wheel well and required almost no extra work to install, so I decided to add it on top of the insulation that was already there.
I did not perform a separate before-and-after noise test for this extra layer, so I cannot say how much difference the foam pad made on its own. I simply saw it as another inexpensive layer of isolation in an area that had already been treated.
Apparently, even after using up most of my leftover sound-deadening material, I still found a way to add one more layer. 🙂
Treating the Trunk Floor
The trunk floor around the spare wheel well also had several exposed sections of sheet metal that I wanted to treat while everything was already apart.
I used the same approach as in the other areas: leftover butyl damping material went directly onto the larger metal sections first, followed by softer foam or insulation wherever there was enough space underneath the factory floor panels and trim.
I did not try to cover every possible piece of metal. My priority was the larger panels that could resonate, while keeping mounting points, access areas and the factory trim fitment clear.
Since the trunk was already completely stripped for the job, it made sense to treat these sections at the same time rather than put everything back together and regret leaving them untouched later.
Preparing the Trunk for the Audio System
The sound-deadening work was also part of a larger plan for the audio system. I was planning to install a dual-subwoofer setup in the trunk together with the amplifiers and other audio equipment, so I wanted to prepare the surrounding bodywork before any of that went in.
One useful feature of the Corolla Touring Sports is that the 12V battery is located at the rear of the car. For an audio installation, that is very convenient because the main power source is already close to the trunk, where the amplifiers and subwoofers would be installed.
Treating the trunk first also meant I would not have to remove the audio equipment again later just to reach the floor, wheel arches or spare wheel well. Once the system was installed, I wanted those areas to stay finished.
There was another reason as well: powerful subwoofers can make loose trim and large metal panels reveal every weakness very quickly. Reducing panel resonance and potential rattles before installing the system seemed much easier than trying to chase them down afterwards.
In other words, I wanted the subwoofers to make the bass — not the trunk itself. 🙂
Did It Make a Difference?
Yes — the difference was noticeable, although I cannot separate the effect of the trunk treatment completely from the door sound deadening I had already done.
Before these upgrades, highway driving produced more of a general background roar that seemed to come from all around the cabin. After treating the doors and then the trunk area, that overall noise level became noticeably lower and the cabin felt quieter.
Interestingly, once that broad background noise was reduced, the remaining noise sources became much easier to identify. I started noticing small stones hitting the front wheel arches — something I had barely noticed before because it was masked by the general road noise. Wind noise around the door areas also became more obvious at higher speeds.
In other words, reducing noise in one part of the car did not make the remaining areas noisier. It simply removed some of the masking noise and revealed where the next weak points were.
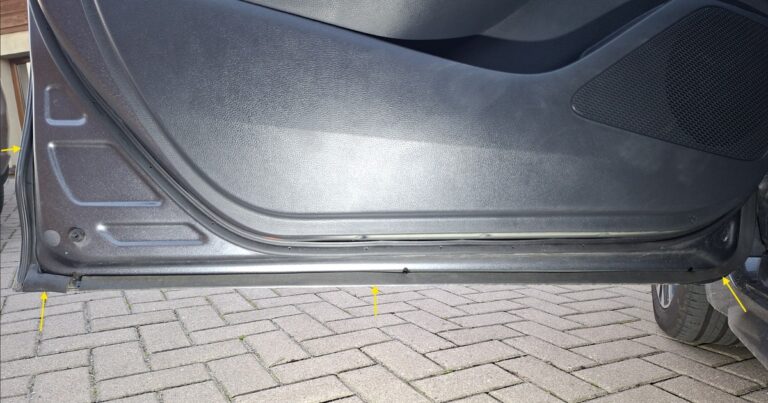
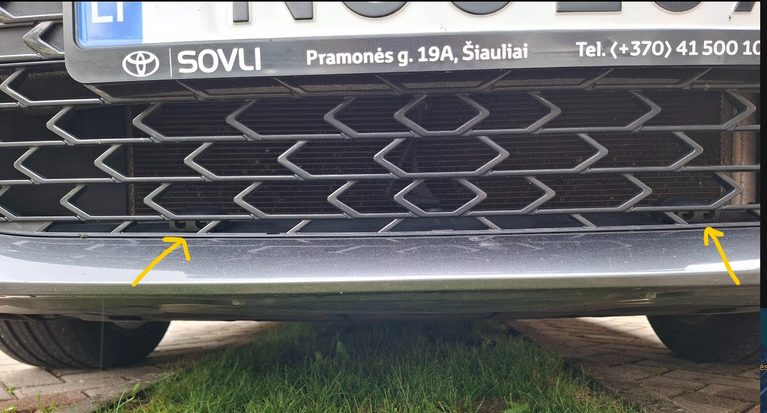
That is exactly what happened in my Corolla. After finishing the doors and trunk, my attention naturally moved toward the front wheel arches and the gaps around the doors. Those are now on my list of areas I would like to improve next. 🙂
Was It Worth It?
For me, yes — it was worth doing.
I did not measure the cabin noise with a sound level meter before and after the installation, so I cannot give an exact decibel improvement. What I can say is that the change was clearly noticeable during normal driving, especially at highway speeds.
Together with the door sound deadening I had already completed, treating the trunk reduced the broad background road noise enough that the cabin felt noticeably calmer. The biggest surprise was that quieter areas of the car started revealing other noise sources that had previously been masked.
The project also made sense from an audio point of view. Since I was already planning a dual-subwoofer system and additional audio equipment in the trunk, reducing resonance and potential rattles before installing everything was much easier than trying to fix them afterwards.
Would I do it again? Yes. I would probably be a little more organized with the materials next time, but using up the leftovers I already had worked perfectly well for this project — and my garage shelf ended up a little emptier too. 🙂
The only downside is that once you make one part of the car quieter, you start hearing everything else. In my case, that means the front wheel arches and door-area wind noise are now next on the list.
If you are working on the same generation Corolla, you can also see my 2024 Toyota Corolla door sound-deadening installation, including a simple before-and-after knock test.